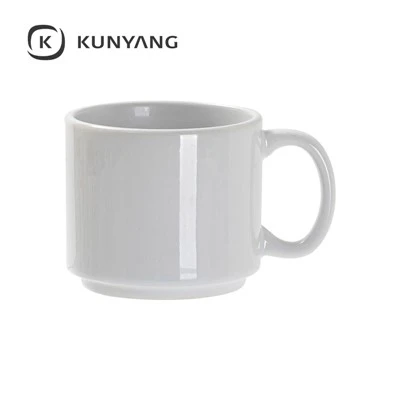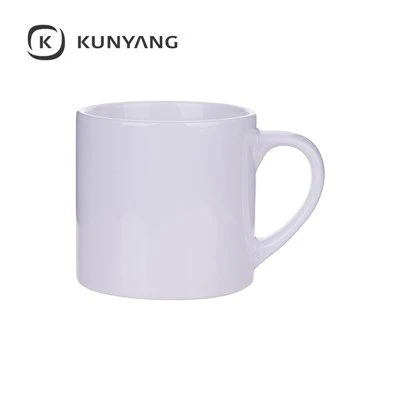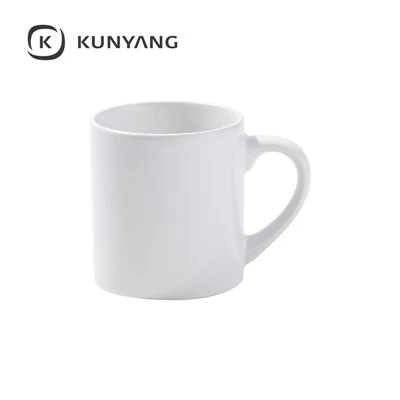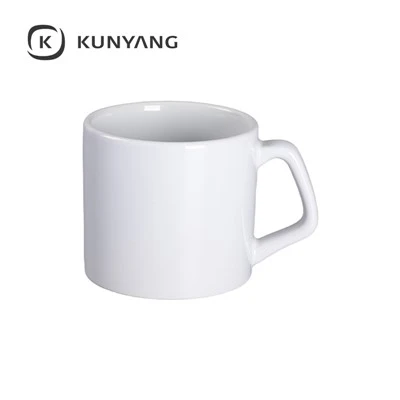

To create your own heat-transfer (sublimation) mugs, you must first gather all the necessary tools and materials. Preparing everything in advance ensures a smooth workflow, preventing any interruptions caused by having to search for items while in the middle of the process. For this project, you will need mugs, heat-transfer paper, and a mug heat press.
Step 1: Begin by thoroughly cleaning the surface of the mug-a paper towel works well for this. Once clean, set the mug aside. Next, trim your printed image to the appropriate size; it is best to tailor the dimensions to fit your specific mug. You can choose any image you like. Note that the ink may still be damp after printing, so use a hairdryer or simply leave the image in a well-ventilated area to air-dry completely.
Step 2: Use heat-resistant tape to secure the dried image onto the center of the mug. When positioning the image, ensure it is centered symmetrically in relation to the mug's handle for the most aesthetically pleasing result.
Step 3: With the image attached to the mug, prepare the mug heat press. Typically, the starting temperature should be set to 230°F (110°C) and the maximum temperature to 330°F (165°C), with a heating duration of 40 seconds. On most models, pressing the "mode" or "setting" button four times will ready the machine for operation. Then, place the mug into the heating element of the press.
Step 4: Because these digital, intelligent heat presses feature an automatic temperature-lock function, the machine will sound an alarm once it reaches the target temperature. Finally, remove the tape, and your perfectly customized heat-transfer mug is complete!